To access your newly created Cloudspace via kubectl, you will need to follow one of the two methods published below.
Method 1: Access for up to 72 hours
Log in to the Spot user interface, and navigate to "API Access" -> "Kubeconfig". The user interface provides you the Kubeconfig that you can use to access your Cloudspace.
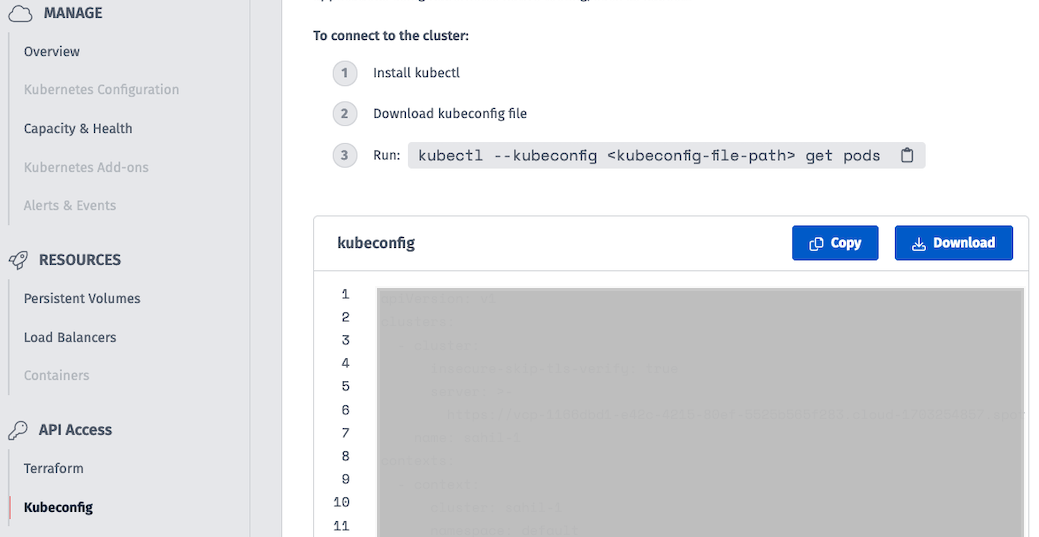
Please note that the token referenced in this Kubeconfig is valid for up to 72 hours. Upon expiry of the token, you will see kubectl report an authentication failure and will be required to obtain a new Kubeconfig.
Using the downloaded Kubeconfig
In your shell, set the KUBECONFIG enivronment variable to the path of the downloaded Kubeconfig file.
Method 2: Longer term access using OIDC
For longer term access, use the Kubernetes OIDC authentication plugin (https://github.com/int128/kubelogin) to authenticate and connect to Cloudspace clusters.
2A. Prerequisites: setup the kubelogin plugin for kubectl
Install the kubelogin plugin for kubectl. Please use krew to install the plugin since we are aware of defects when using other installation mechanisms such as chocolatey.
https://github.com/int128/kubelogin?tab=readme-ov-file#setup
2B. Configure kubectl to use OIDC authentication
Follow the steps in Method 1 to download the Kubeconfig file from the user interface and export the KUBECONFIG environment variable
Query the available contexts in the provided kubeconfig to find the kubeconfig that ends with "-oidc". For example:
When running this for the first time, you will be prompted to open a browser and authenticated. After successful authentication, you will be able to run kubectl commands without the need to authenticate again.
Set the context to that -oidc enabled context so that you can login with kubectl: