Rackspace Spot provides the industry's most cost-effective Kubernetes clusters with high-availability & auto-scaling. This combination of low cost and simplicity makes it a good platform for ML/Ops teams interested in Ray. This HOWTO walks you through the deployment of KubeRay on Spot instances for use in batch processing, ML prediction/inference in real time, ML model deployment etc.
KubeRay Introduction
KubeRay is an open-source Kubernetes operator designed to simplify the deployment and management of Ray applications (e.g. ML model training/deployment using ray libraries) on Kubernetes clusters. KubeRay provides us RayCluster, RayJob, RayService CRs to train & deploy ML workloads.
RayCluster: KubeRay fully manages the lifecycle of RayCluster, including cluster creation/deletion, autoscaling, and ensuring fault tolerance.
RayJob: With RayJob, KubeRay automatically creates a RayCluster and submits a job when the cluster is ready. You can also configure RayJob to automatically delete the RayCluster once the job finishes.
RayService: RayService is made up of two parts: a RayCluster and a Ray Serve deployment graph. RayService offers zero-downtime upgrades for RayCluster and high availability.
Other usage of KubeRay will be used for distributed job processing. To learn more about Ray, follow this link.
Minimum System Requirements
KubeRay requires a of minimum 4 CPUs & 4GB Memory for head node & worker nodes to work. Rackspace Spot provides several machines that meet these needs.
Step 1: Create a Spot Cloudspace
To deploy KubeRay operator & RayClusters, you need a Kubernetes cluster. Rackspace Spot provides Cloudspaces, which are complete Kubernetes clusters with load balancing, persistent storage and auto-scaling for your Ray applications. In this HOWTO, we are going to be using General Virtual Server.Extra Large machine to deploy the KubeRay operator and sample RayCluster CR.
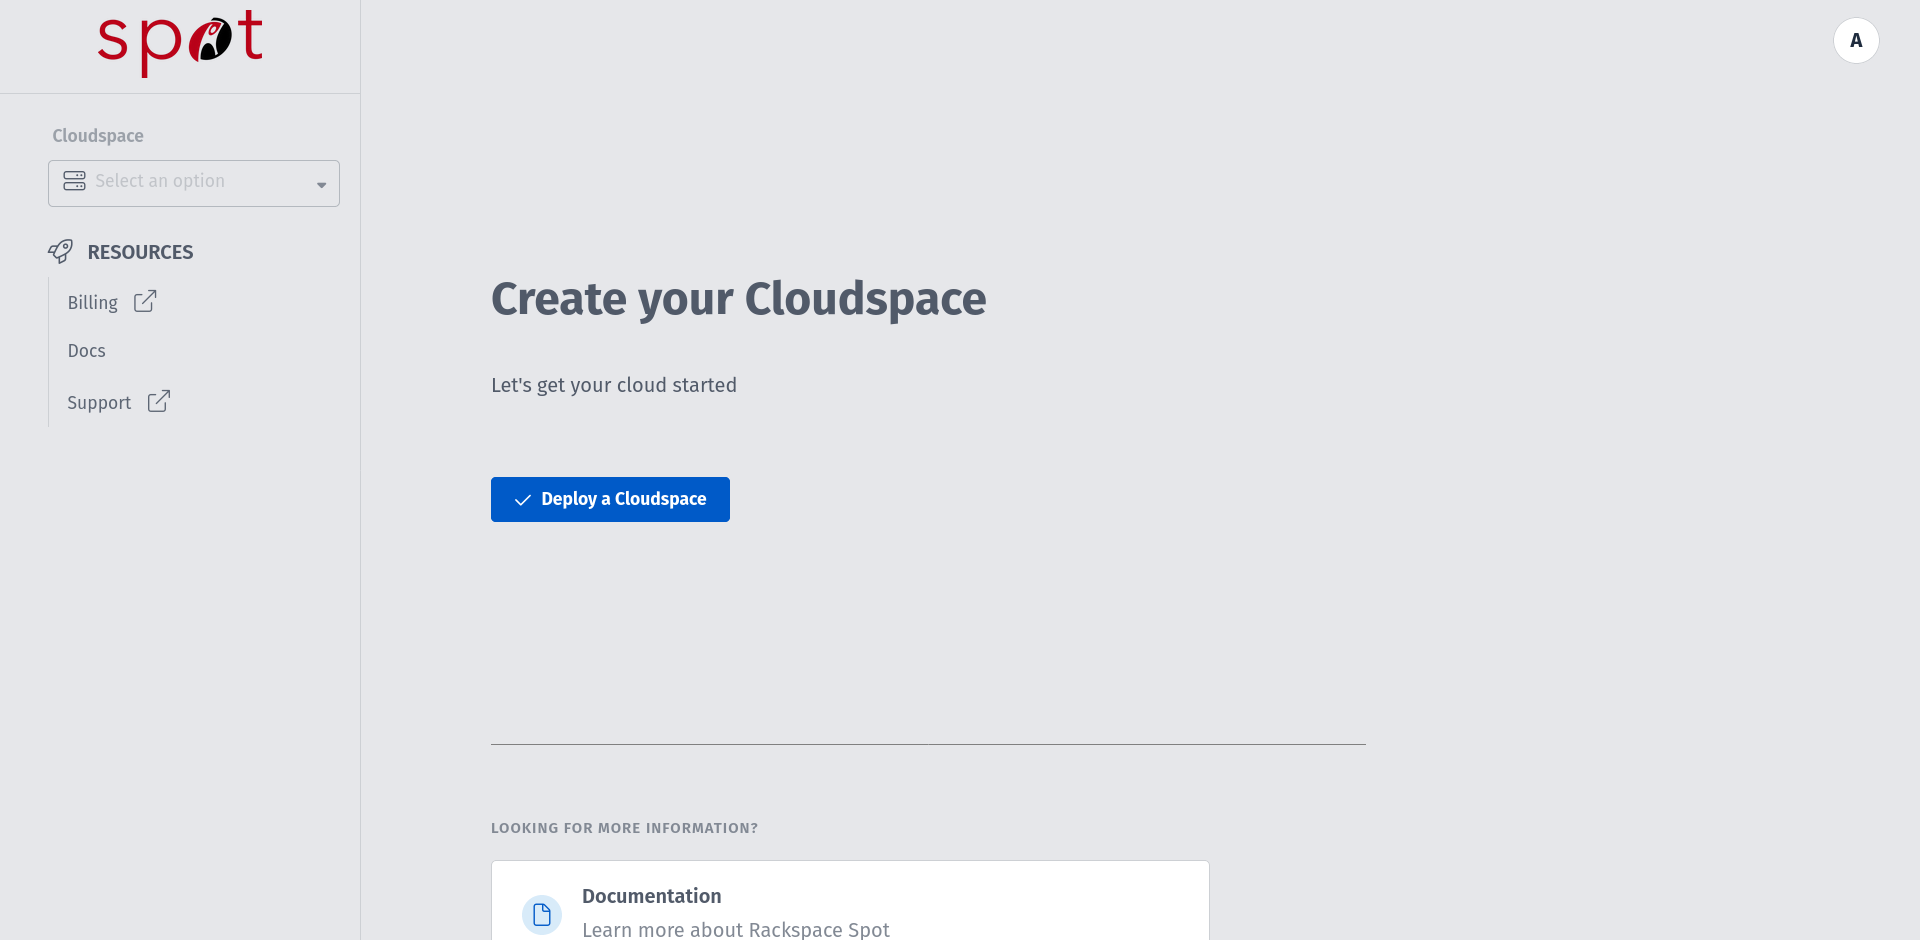
Deploy a Cloudspace
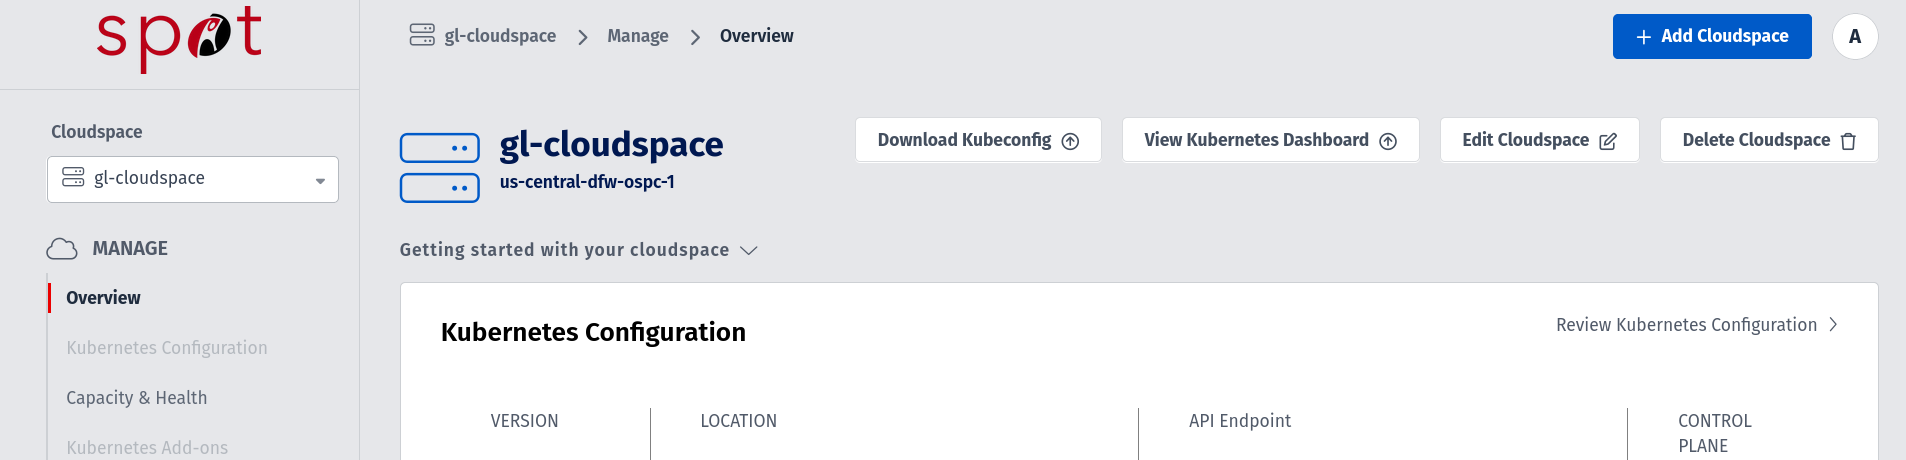
You can also use existing Cloudspace of your choice if it satisfies minimum requirement for KubeRay (or) you can create new Cloudspace by clicking "Add Cloudspace" from the top right corner.
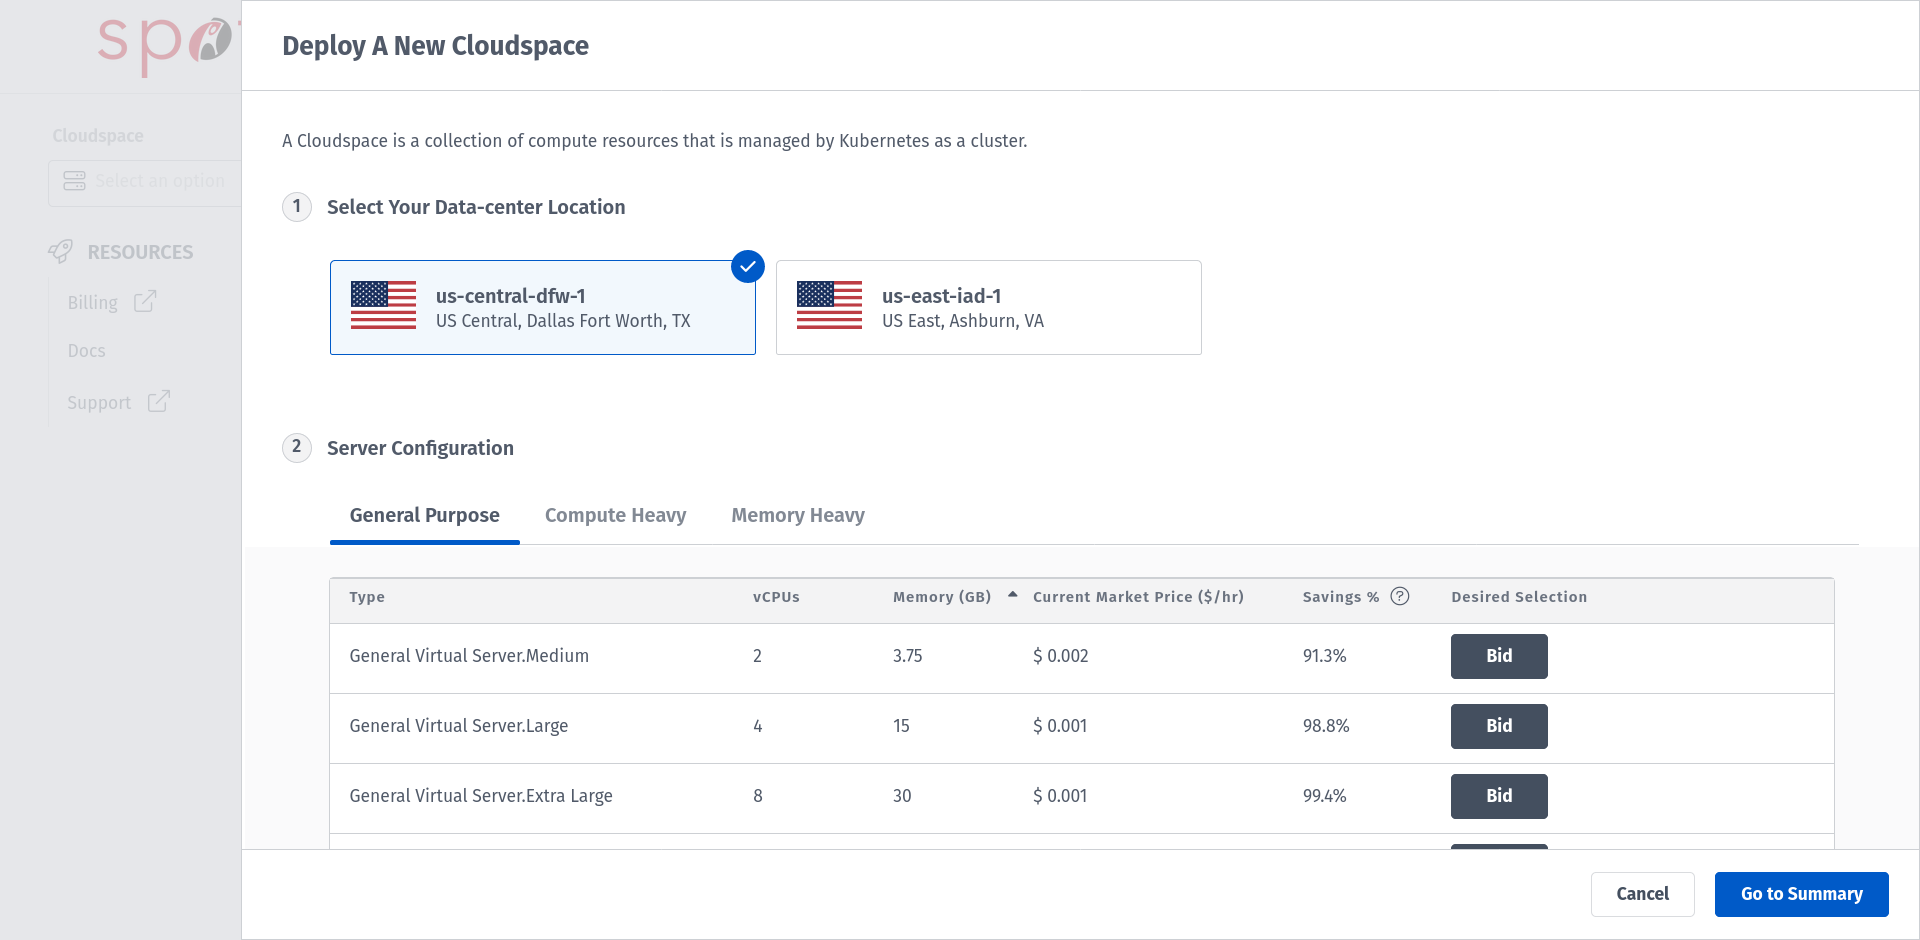
Choose from the Data-center Location.
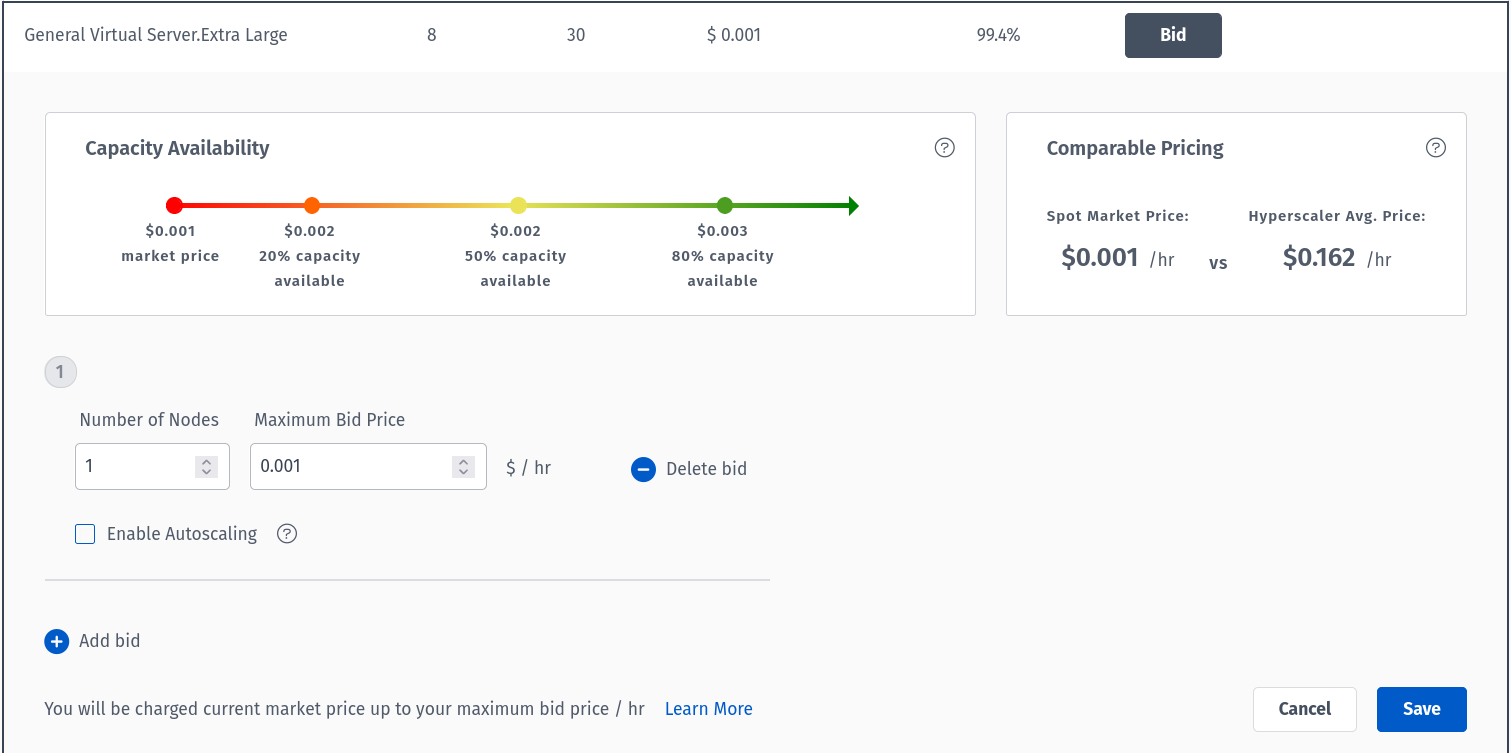
Choose your preferred Server Configuration. For this HOWTO, we are going with General Virtual Server.Extra Large machine to place a bid.
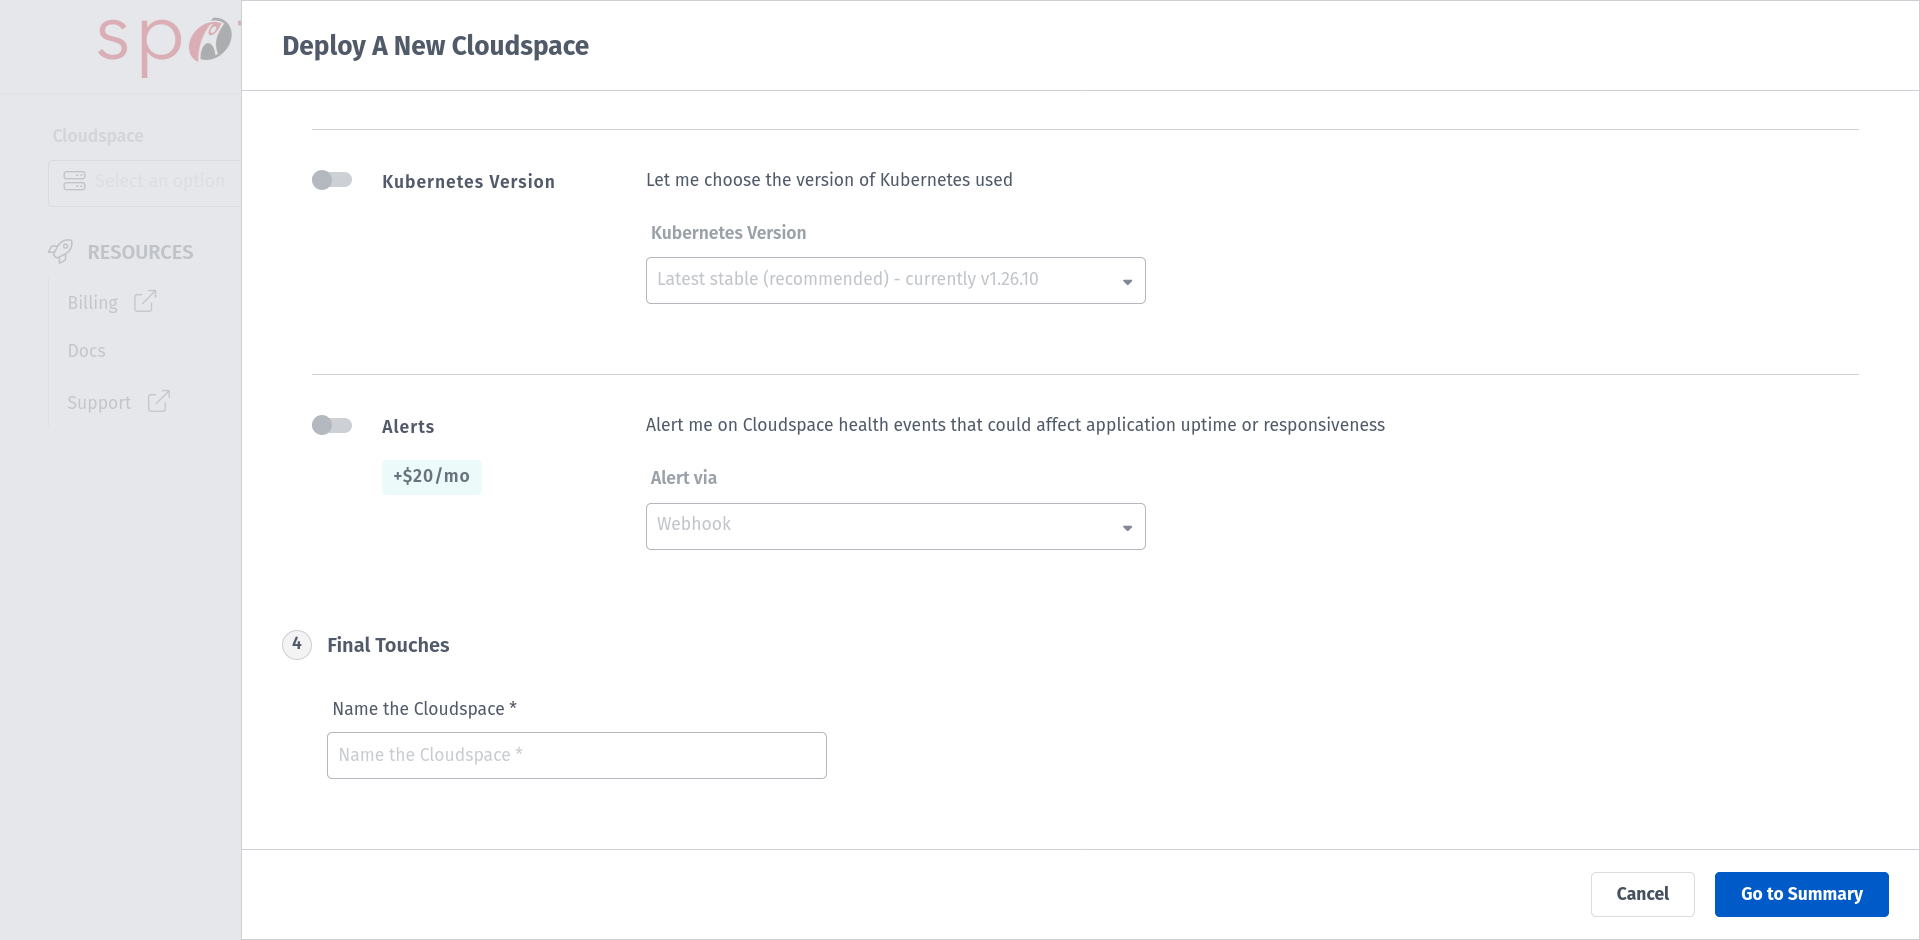
Configure your Cloudspace based on your preference and type in your Cloudspace name.
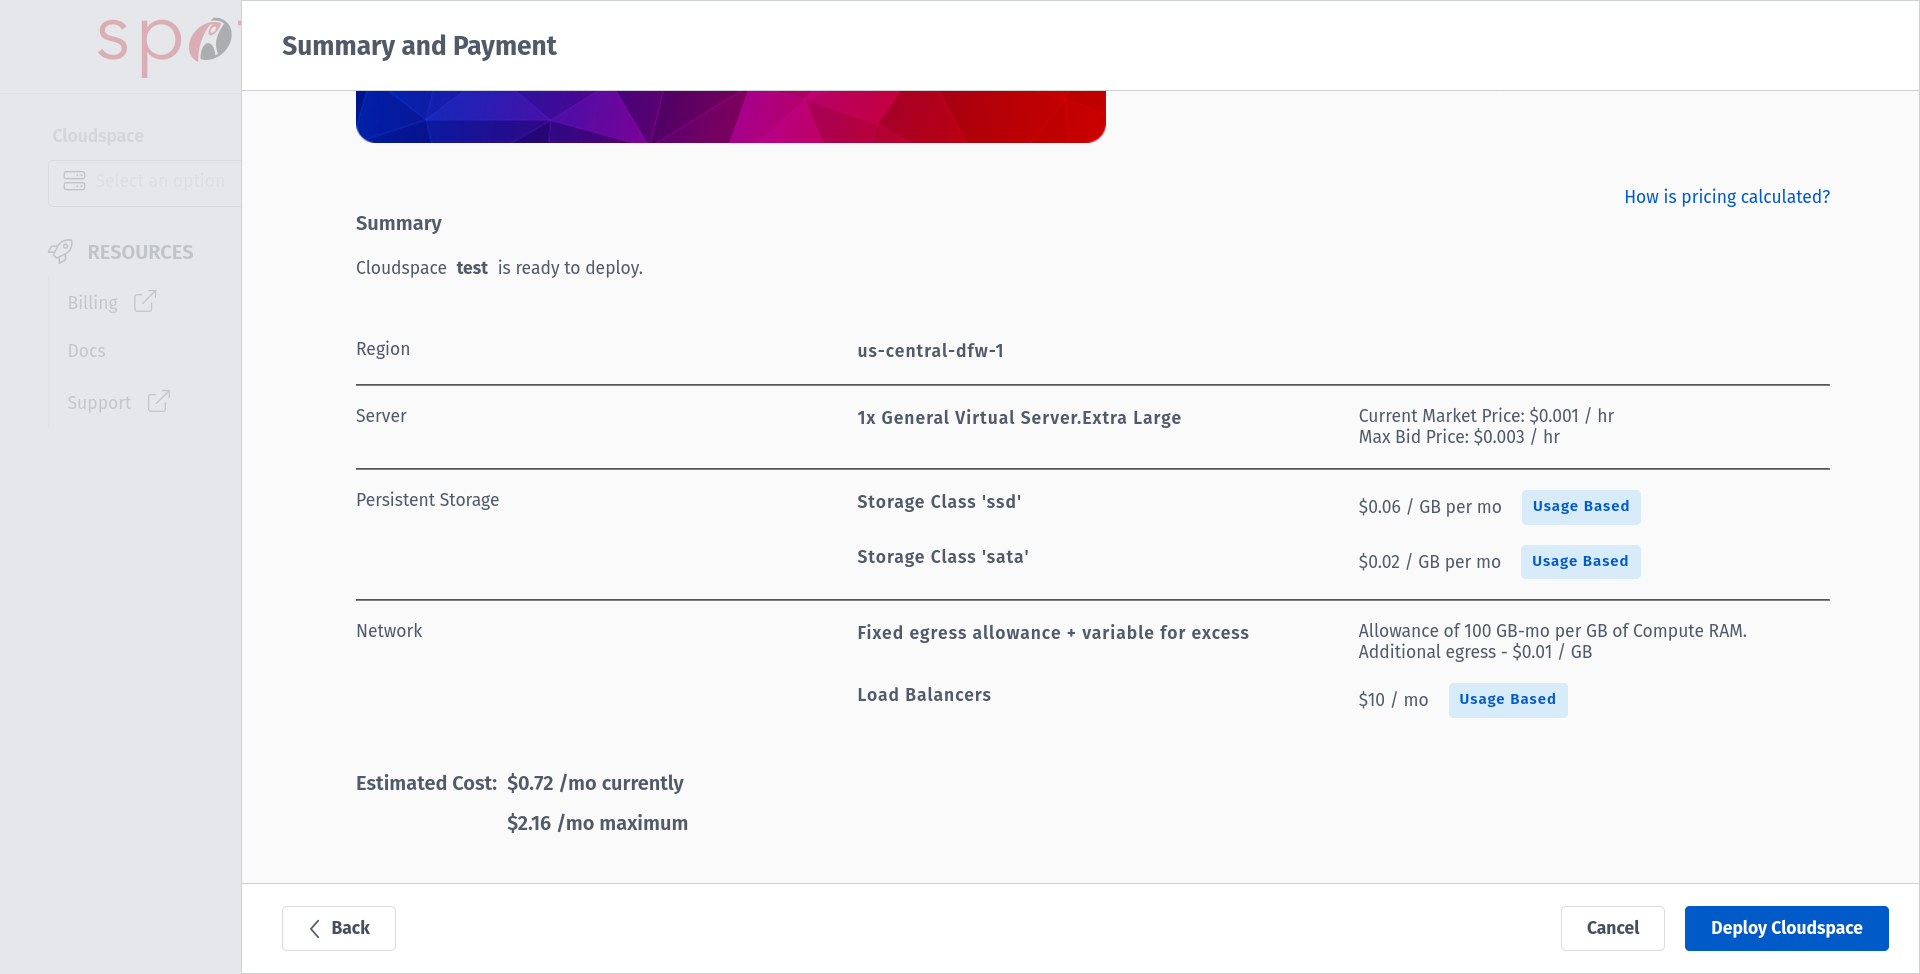
Proceed with Go to Summary which summarizes the configuration and pricing for your Cloudspace and deploy your Cloudspace. If this is the first Cloudspace in your Rackspace Spot account, you will see a screen with a option for Billing in the left panel. Provide the information regarding PAYMENT METHOD & BILLING INFORMATION .
To learn more about detailed creation of Cloudspace and bids, follow this article.
Step 2: Install the KubeRay Operator
Once the Cloudspace (K8s cluster) is provisioned in Spot, download the kubeconfig file from the spot dashboard in Cloudspace view.
Deploy the KubeRay operator using Helm chart repository.
helm repo add KubeRay https://ray-project.github.io/kuberay-helm/
helm repo update
# Install both CRDs and KubeRay operator v1.1.0-rc.0.
helm install kuberay-operator kuberay/kuberay-operator --version 1.1.0-rc.0 --kubeconfig <cloudspace_kubeconfig_file>
# NAME: KubeRay-operator
# LAST DEPLOYED: Fri Mar 22 15:16:14 2024
# NAMESPACE: default
# STATUS: deployed
# REVISION: 1
# TEST SUITE: None
# Confirm that the operator is running in the namespace `default`.
kubectl get po --kubeconfig <cloudspace_kubeconfig_file>
# NAME READY STATUS RESTARTS AGE
# kuberay-operator-646c5bbd7f-pjf7j 1/1 Running 0 109s
This above instructions are based on the documentation available here.
Step 3: Deploy a RayCluster
Now you can deploy a RayCluster in the default namespace using the KubeRay operator.
# Deploy a sample RayCluster CR from the KubeRay Helm chart repo:
helm install raycluster kuberay/ray-cluster --version 1.1.0-rc.0 --kubeconfig <cloudspace_kubeconfig_file>
NAME: raycluster
LAST DEPLOYED: Fri Mar 22 18:25:04 2024
NAMESPACE: default
STATUS: deployed
REVISION: 1
TEST SUITE: None
# Once the RayCluster CR has been created, you can view it by running:
kubectl get rayclusters --kubeconfig <cloudspace_kubeconfig_file>
# NAME DESIRED WORKERS AVAILABLE WORKERS CPUS MEMORY GPUS STATUS AGE
# raycluster-kuberay 1 2 3G 0 91s
# You can also verify the Head node(s) & Worker node(s) pods created by RayCluster CR.
kubectl get po --kubeconfig <cloudspace_kubeconfig_file>
# NAME READY STATUS RESTARTS AGE
# KubeRay-operator-646c5bbd7f-pjf7j 1/1 Running 0 3h26m
# raycluster-kuberay-head-scwn5 1/1 Running 0 17m
# raycluster-kuberay-worker-workergroup-zrkns 1/1 Running 0 17m
A RayCluster with this Custom Resource definition will be deployed in the default namespace by Helm:
kubectl get rayclusters --kubeconfig <cloudspace_kubeconfig_file> raycluster-KubeRay -o yaml
apiVersion: ray.io/v1
kind: RayCluster
metadata:
annotations:
meta.helm.sh/release-name: raycluster
meta.helm.sh/release-namespace: default
creationTimestamp: "2024-03-22T12:55:09Z"
generation: 1
labels:
app.kubernetes.io/instance: raycluster
app.kubernetes.io/managed-by: Helm
app.kubernetes.io/name: kuberay
helm.sh/chart: ray-cluster-1.1.0-rc.0
name: raycluster-KubeRay
namespace: default
resourceVersion: "72676"
uid: c7f7d06e-af97-4b8c-a524-ebcbd5d88298
spec:
headGroupSpec:
rayStartParams:
dashboard-host: 0.0.0.0
serviceType: ClusterIP
template:
metadata:
annotations: {}
labels:
app.kubernetes.io/instance: raycluster
app.kubernetes.io/managed-by: Helm
app.kubernetes.io/name: kuberay
helm.sh/chart: ray-cluster-1.1.0-rc.0
spec:
affinity: {}
containers:
- image: rayproject/ray:2.9.0
imagePullPolicy: IfNotPresent
name: ray-head
resources:
limits:
cpu: "1"
memory: 2G
requests:
cpu: "1"
memory: 2G
securityContext: {}
volumeMounts:
- mountPath: /tmp/ray
name: log-volume
imagePullSecrets: []
nodeSelector: {}
tolerations: []
volumes:
- emptyDir: {}
name: log-volume
workerGroupSpecs:
- groupName: workergroup
maxReplicas: 2147483647
minReplicas: 0
numOfHosts: 1
rayStartParams: {}
replicas: 1
template:
metadata:
annotations: {}
labels:
app.kubernetes.io/instance: raycluster
app.kubernetes.io/managed-by: Helm
app.kubernetes.io/name: kuberay
helm.sh/chart: ray-cluster-1.1.0-rc.0
spec:
affinity: {}
containers:
- image: rayproject/ray:2.9.0
imagePullPolicy: IfNotPresent
name: ray-worker
resources:
limits:
cpu: "1"
memory: 1G
requests:
cpu: "1"
memory: 1G
securityContext: {}
volumeMounts:
- mountPath: /tmp/ray
name: log-volume
imagePullSecrets: []
nodeSelector: {}
tolerations: []
volumes:
- emptyDir: {}
name: log-volume
status:
availableWorkerReplicas: 1
<...status snipped...>
state: ready
Step 4: Run an application on your RayCluster
Once the Head node(s) & Worker node(s) are both in RUNNING state, you can submit a RayJob by following the steps below. There may be different ways to interact with head node, here we review one such way to submit a RayJob. Other ways of interacting with the RayCluster are described in the documentation here.
We create a RayJob which will print the cluster resources of RayCluster.
export HEAD_POD=$(kubectl get pods --selector=ray.io/node-type=head -o custom-columns=POD:metadata.name --no-headers --kubeconfig <cloudspace_kubeconfig_file>)
echo $HEAD_POD
# raycluster-kuberay-head-scwn5
# Print the cluster resources as a Rayjob.
kubectl exec -it $HEAD_POD --kubeconfig <cloudspace_kubeconfig_file> -- python -c "import ray; ray.init(); print(ray.cluster_resources())"
# 2024-03-22 06:50:29,559 INFO worker.py:1405 -- Using address 127.0.0.1:6379 set in the environment variable RAY_ADDRESS
# 2024-03-22 06:50:29,560 INFO worker.py:1540 -- Connecting to existing Ray cluster at address: 10.20.200.11:6379...
# 2024-03-22 06:50:29,576 INFO worker.py:1715 -- Connected to Ray cluster. View the dashboard at http://10.20.200.11:8265
# {'node:__internal_head__': 1.0, 'node:10.20.200.11': 1.0, 'object_store_memory': 782757887.0, 'memory': 3000000000.0, 'CPU': 2.0, 'node:10.20.200.12': 1.0}
Step 5: Inspect the KubeRay Dashboard
KubeRay also provides dashboard to monitor RayJobs, RayServices, RayCluster metrics etc,. To access the dashboard, you just need to run two commands:
kubectl get svc raycluster-kuberay-head-svc --kubeconfig <cloudspace_kubeconfig_file>
# NAME TYPE CLUSTER-IP EXTERNAL-IP PORT(S) AGE
# raycluster-kuberay-head-svc ClusterIP 10.21.10.1 <none> 10001/TCP,8265/TCP,8080/TCP,6379/TCP,8000/TCP 58m
kubectl port-forward --address 0.0.0.0 service/raycluster-kuberay-head-svc 8265:8265 --kubeconfig <cloudspace_kubeconfig_file>
# Forwarding from 0.0.0.0:8265 -> 8265
# Handling connection for 8265
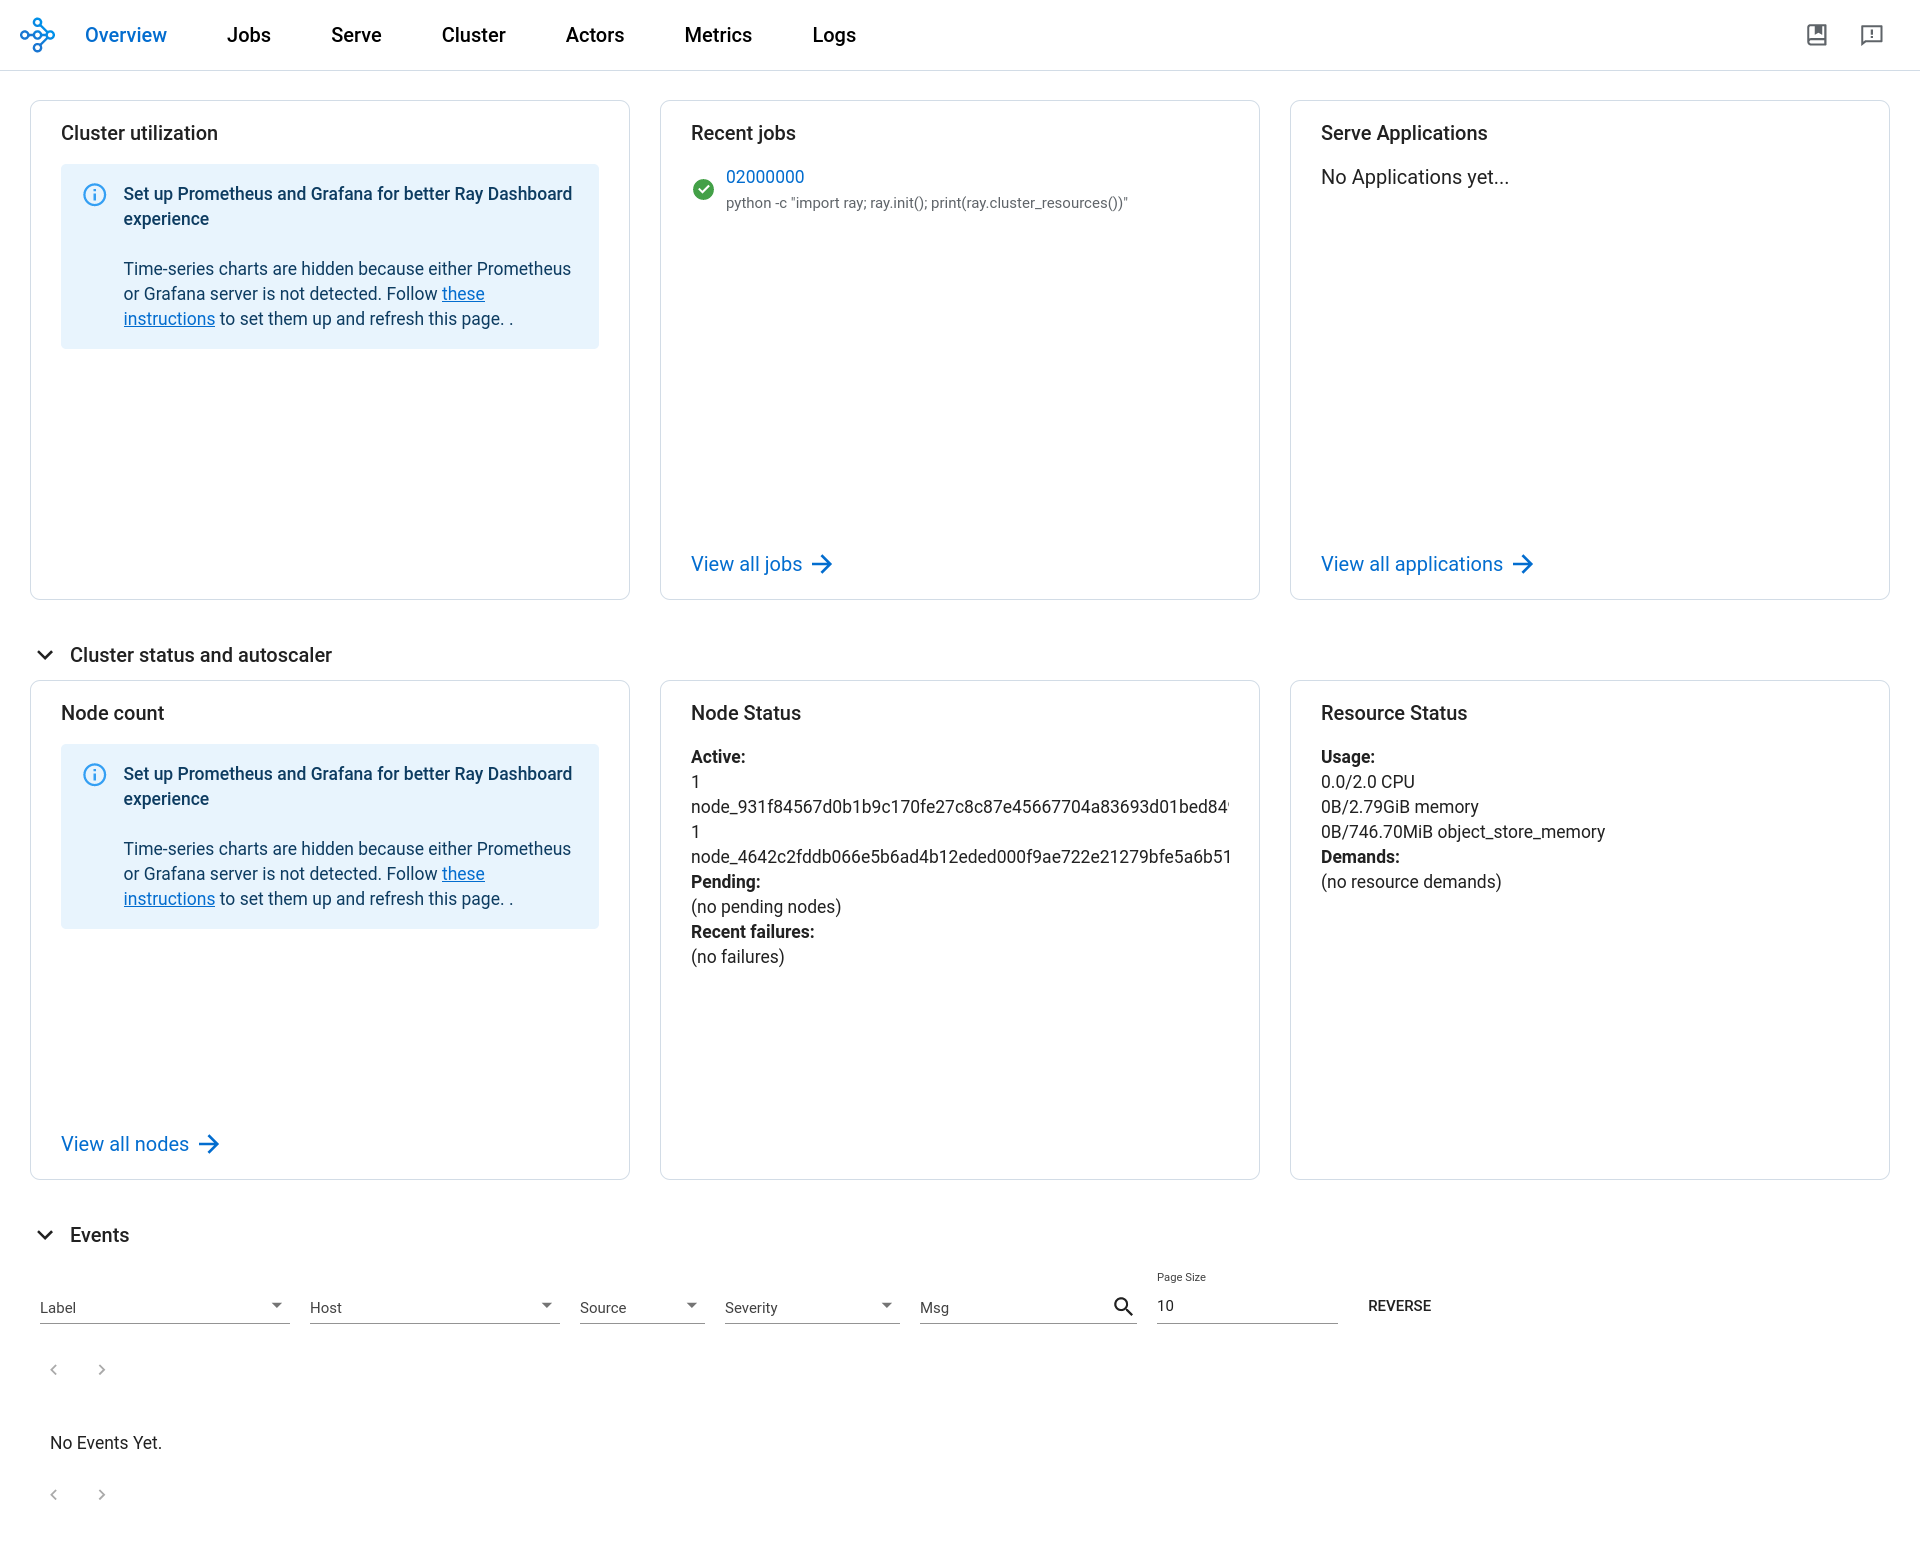
Ray Dashboard shows the job executed from the above section.
Step 6: Autoscaling of Nodes for KubeRay
Ray applications will often require a variable amount of capacity. While KubeRay provides auto-scaling which will increase/decrease the worker pods, Autoscaling in Rackspace Spot will dynamically provision the required nodes for your Kubernetes Cluster.
References
https://spot.rackspace.com/docs/create-rackspace-spot-cloudspace
https://github.com/ray-project/kuberay
https://docs.ray.io/en/master/cluster/key-concepts.html#cluster-key-concepts
https://docs.ray.io/en/master/cluster/kubernetes/getting-started/raycluster-quick-start.html