
This guide walks you through creating your first Rackspace Spot Kubernetes cluster (Cloudspace), accessing it, and deploying a simple application.
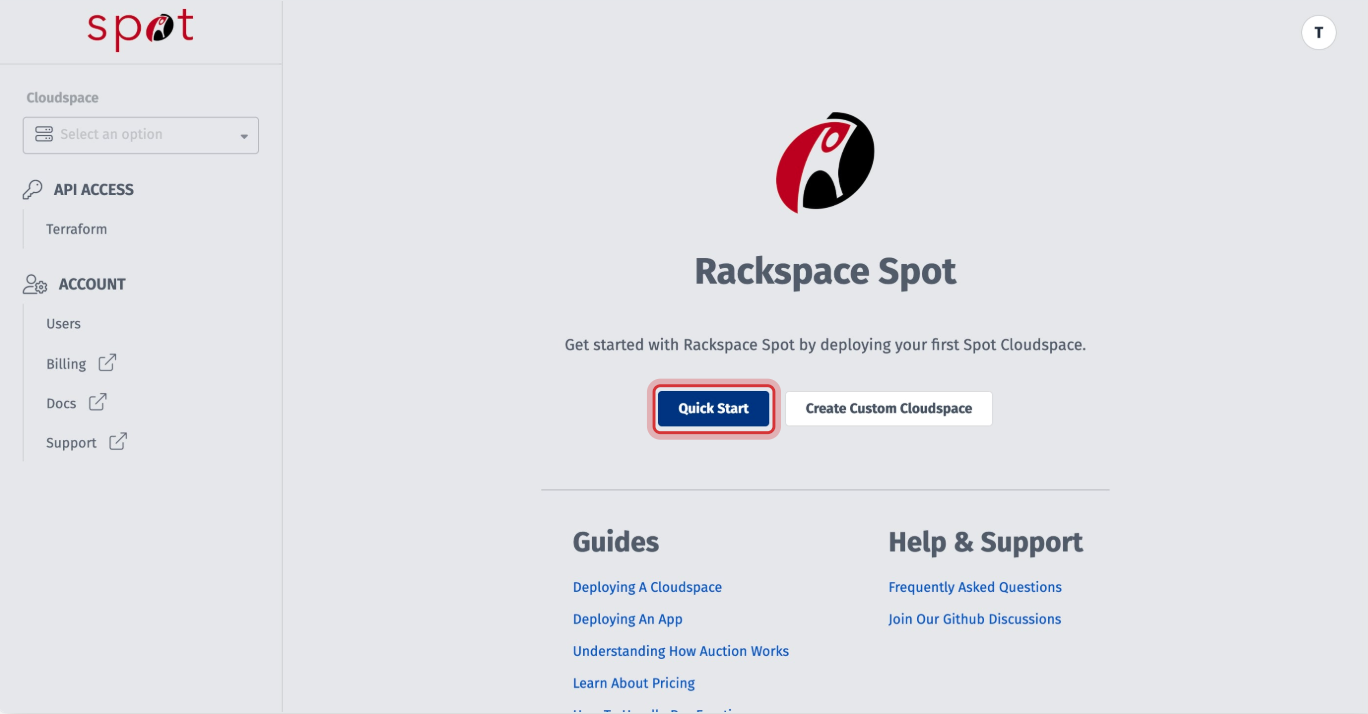
Step 1: Click Quick Start Button
Navigate to the dashboard and click "Quick Start"
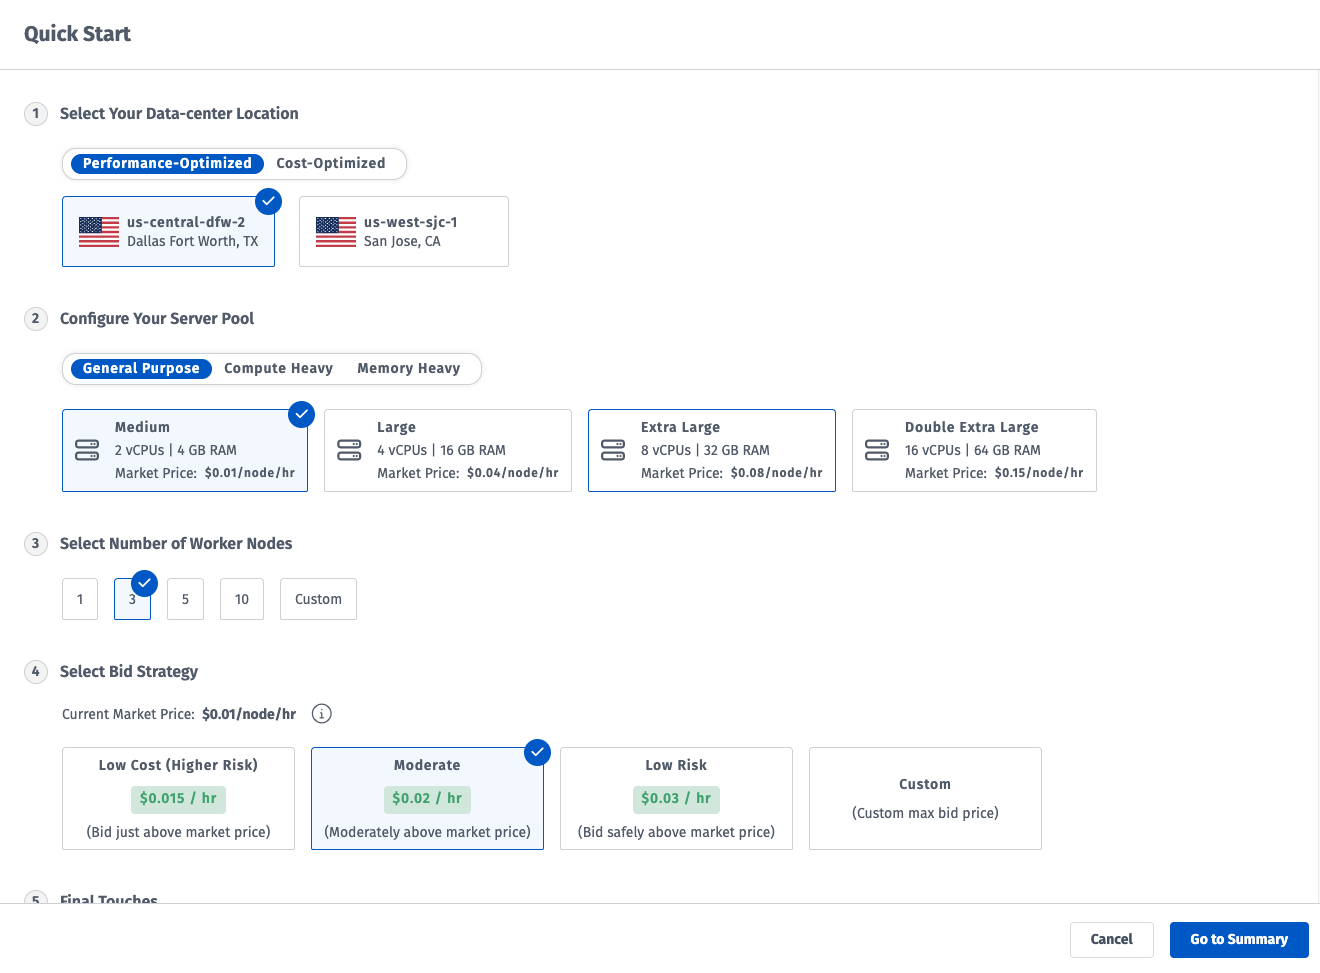
Step 2: Review Cluster Preset
Quickstart shows you recommended configuration options for your cloudspace cluster. On this page you can adjust the configuration to suit your needs and click "Go to Summary" when finished.
Step 3: Add payment information and Deploy
Cluster creation typically takes 5-15 minutes as worker nodes are acquired and configured.
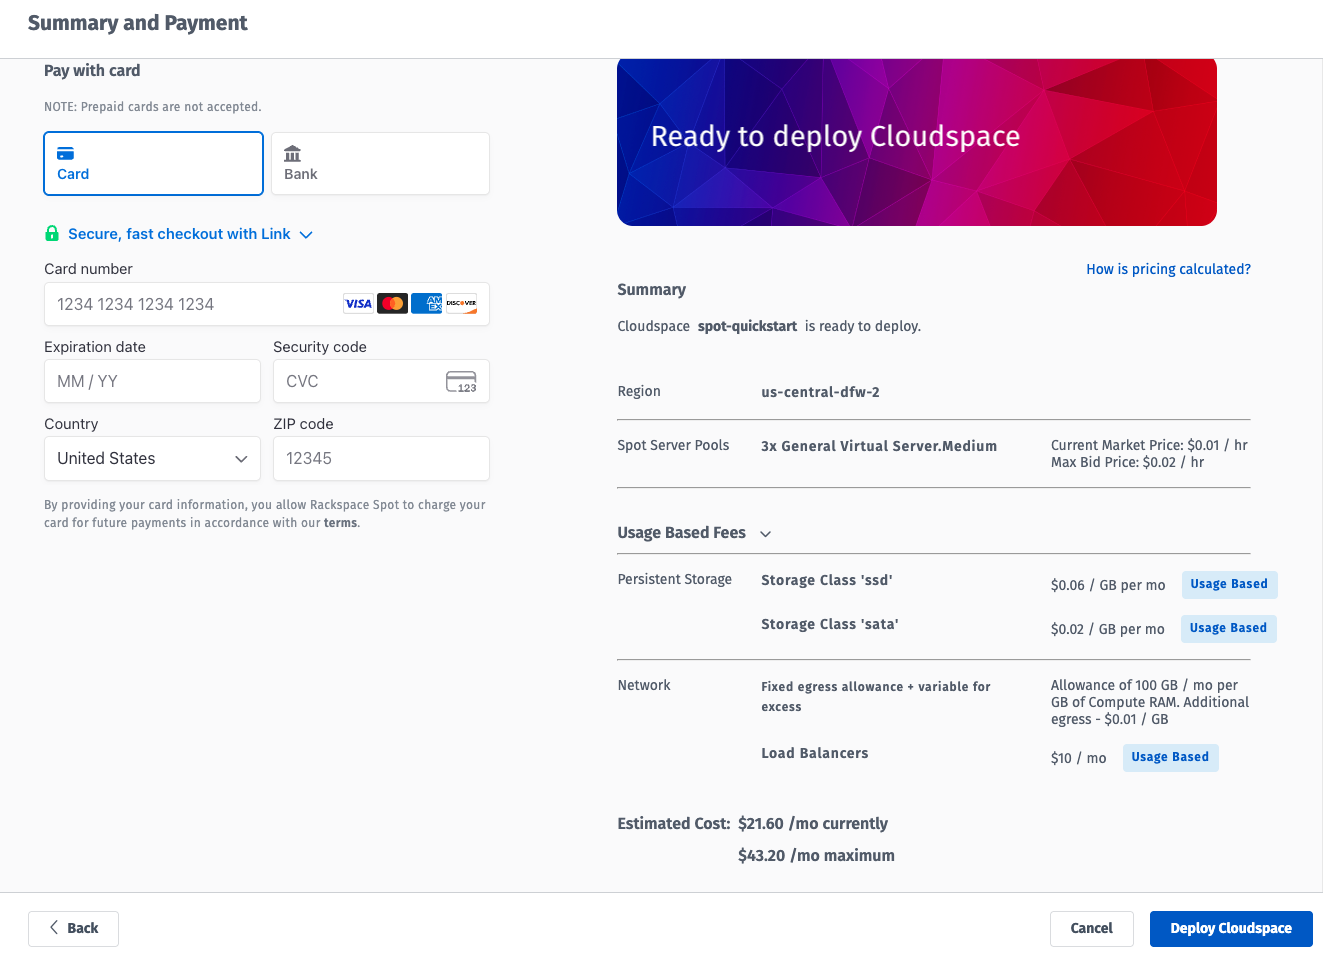
Cluster creation typically takes 5-15 minutes as worker nodes are acquired and configured. You can proceed to downloading the kubeconfig and getting setup locally to access your cluster while worker nodes provision.
Step 4: Access Your Cloudspace
Navigate to the Kubeconfig section on the sidebar then click the "Download" button. This file contains the credentials needed to access your cluster.
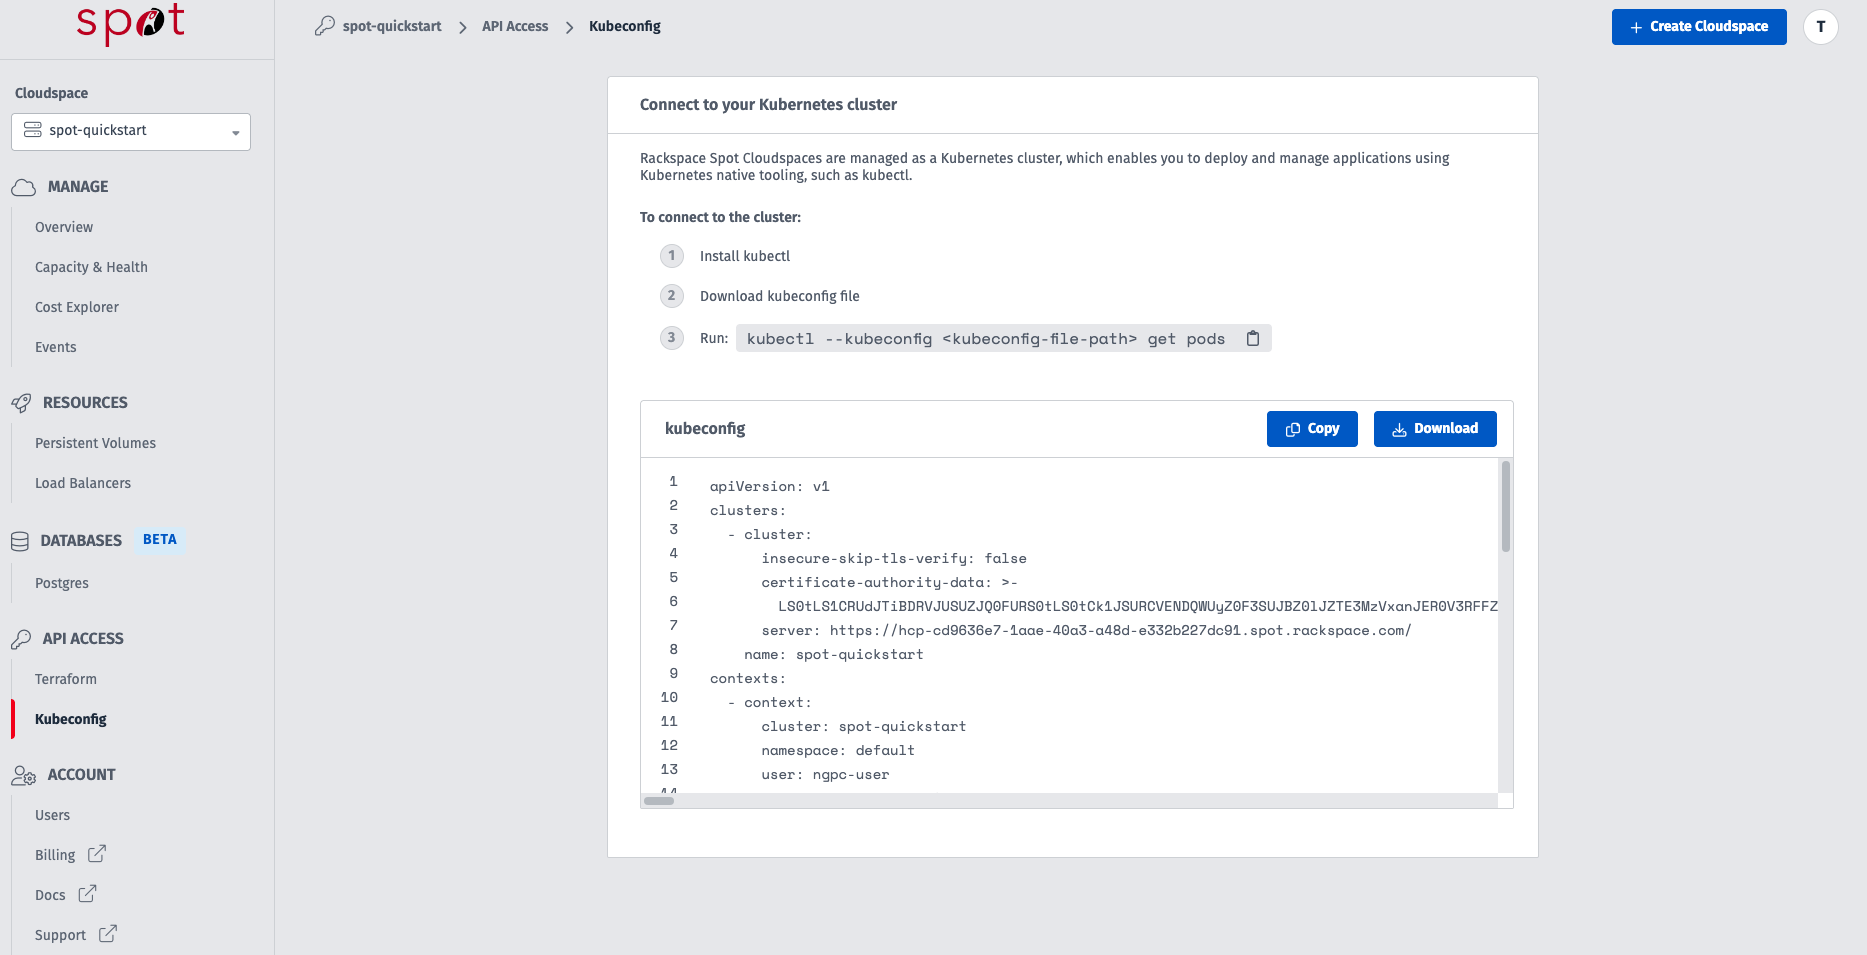
Configure kubectl: Ensure you have kubectl installed. Place the downloaded kubeconfig file in a secure location. Tell kubectl to use it:
(See Access your Cloudspace via kubectl for more details)
Verify Connection: Test your connection and view your cluster nodes:

You should see the nodes from the server pool(s) you created listed with a Ready status. If you do not see any nodes check the spot dashboard to see if provisioning is still in progress or if there is an issue with your node pool.
Step 5: Deploy a Sample Application
Let's deploy a simple Nginx web server.
Create a Deployment: This tells Kubernetes to run Nginx containers.
Expose the Deployment: Create a Service of type LoadBalancer to make Nginx accessible externally. Rackspace Spot will provision a load balancer for you.
To access this example locally we will use port forwarding:
While the port-forward command is running, access Nginx at:
http://localhost:8080
To terminate the connection, press Ctrl+C in the terminal.
To expose the example deployment via Node Port use the following command:
Access your NGINX (replace with your node's IP)
http://<node-ip>:30080
Load balancers are billed at $10/mo. See additional details: Load Balancers
Expose nginx via a loadbalancer to access externally
Find the External IP: It might take a minute or two for the load balancer to get an external IP address. Check the service status:
Initially, the EXTERNAL-IP will show as <pending> while Rackspace Spot provisions the load balancer. After a few minutes, an external IP address will be assigned.
Look for the EXTERNAL-IP value. Once it appears, you can access the Nginx welcome page by navigating to http://<EXTERNAL-IP> in your web browser.
(See Deploy your Application for more examples)
Next Steps
Congratulations! You've created a Rackspace Spot Cloudspace and deployed an application.
Explore Spot vs On-Demand to understand hybrid clusters.
Learn about Pre-emption
Review Bidding Best Practices
Review Adding Servers.